Synchronizing Files from External Database to HDFS
You can synchronize files from external database to the EnOS file storage system HDFS. The below lists the external database supported currently.
- Azure Blob
Before You Start
Ensure that you have registered the data source for the external database, and the external database has the files to be synchronized. For more information, see Data Source Registration.
Step 1: Create a Data Synchronization Task
In the EnOS Management Console, select Data Synchronization from the left navigation menu.
Click + above the task list or click New Synchronization Task in the blank page.
In the New Data Synchronization Task window, complete the basic settings for the task.
- Mode: Select Create to create a task from scratch. If you wish to Import task config, go to Creating a Task by Importing an Existing Configuration.
- Name: Enter the name of the data synchronization task.
- Sync Type: Select File stream.
- Scheduling Type: Select Manual scheduling.
- Description: Provide a description for the data synchronization task.
- Select Dir: Select the directory to save the task.
Click OK to create the data synchronization task.
Step 2: Select the Data Source
Select the data source of the files to be synchronized to HDFS with the steps below.
Data Source Type: Select the data source of the files to be synchronized. Currently, only Azure BLOB is supported.
Data Sources: Select the data source that is registered through Data Source Registration.
Directory or File Name: Enter the directory or file to be synchronized. Wild cards, system variables, and customized variables is supported. A directory must end with “/”.
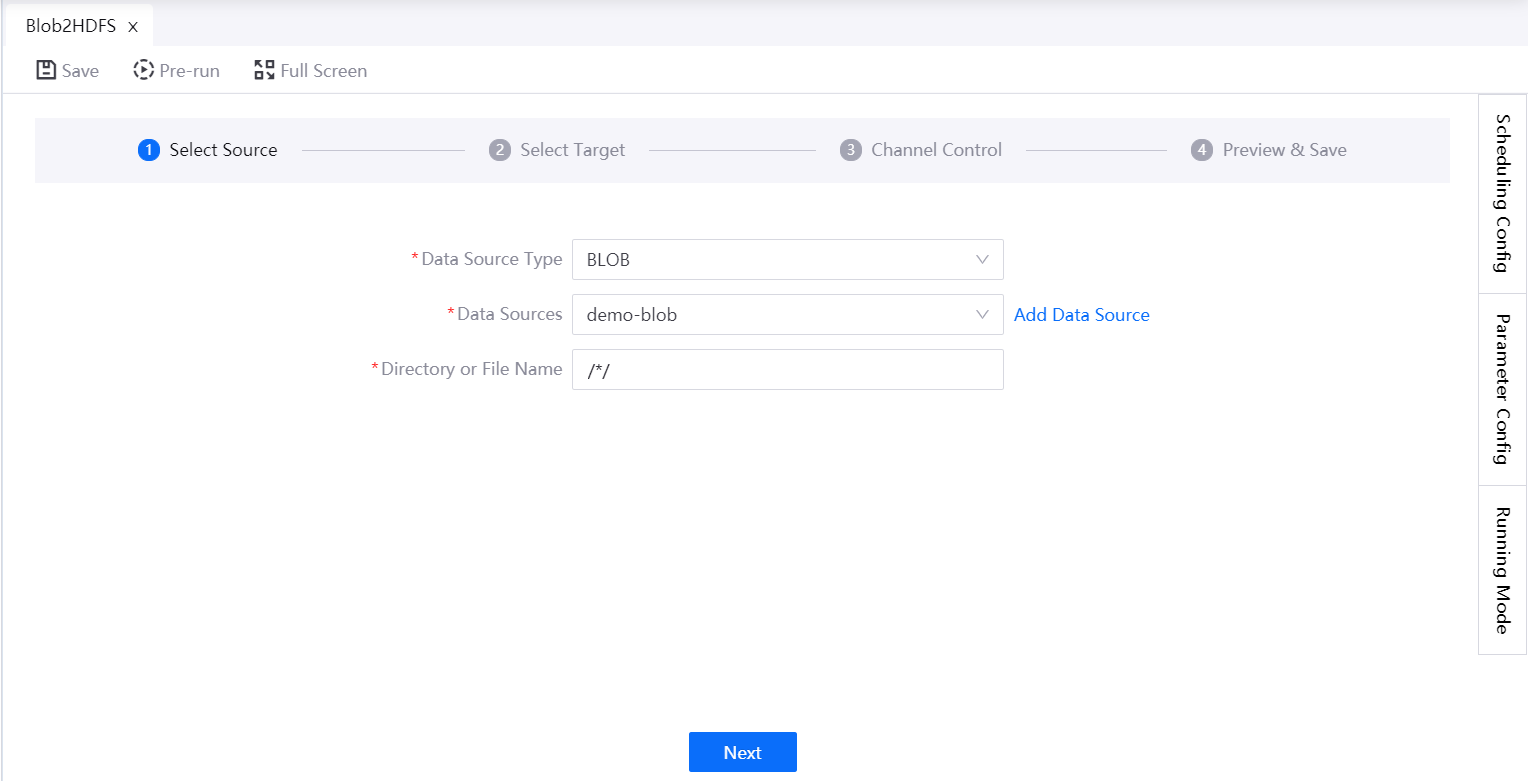
Click Next to select the target.
Step 3: Select the Target Table
For now, the HDFS(EnOS) file storage system is the only supported type. Complete the following settings for the target table.
Path: Enter the sub-directory to store the synchronized files, which must end with “/”. If you do not specify the sub-directory, the synchronized files will be stored in the root directory by default.
Select the File Writing Rule.
- Overwrite file with the same name: If a file that is being synchronized has the same name with a file in the target path, the file in the target path will be overwritten.
- Do not overwrite file with the same name: If a file that is being synchronized has the same name with a file in the target path, the synchronization task will be stopped immediately and the file in the target path will not be overwritten. Files that have been synchronized will be stored.

Click Next.
Step 4: Configure Concurrency
Select the number of concurrent connections to establish and click Next.
The higher the concurrency number, the larger load the database will have. When the total transmission rate is fixed, the rate of a single concurrent connection is smaller.
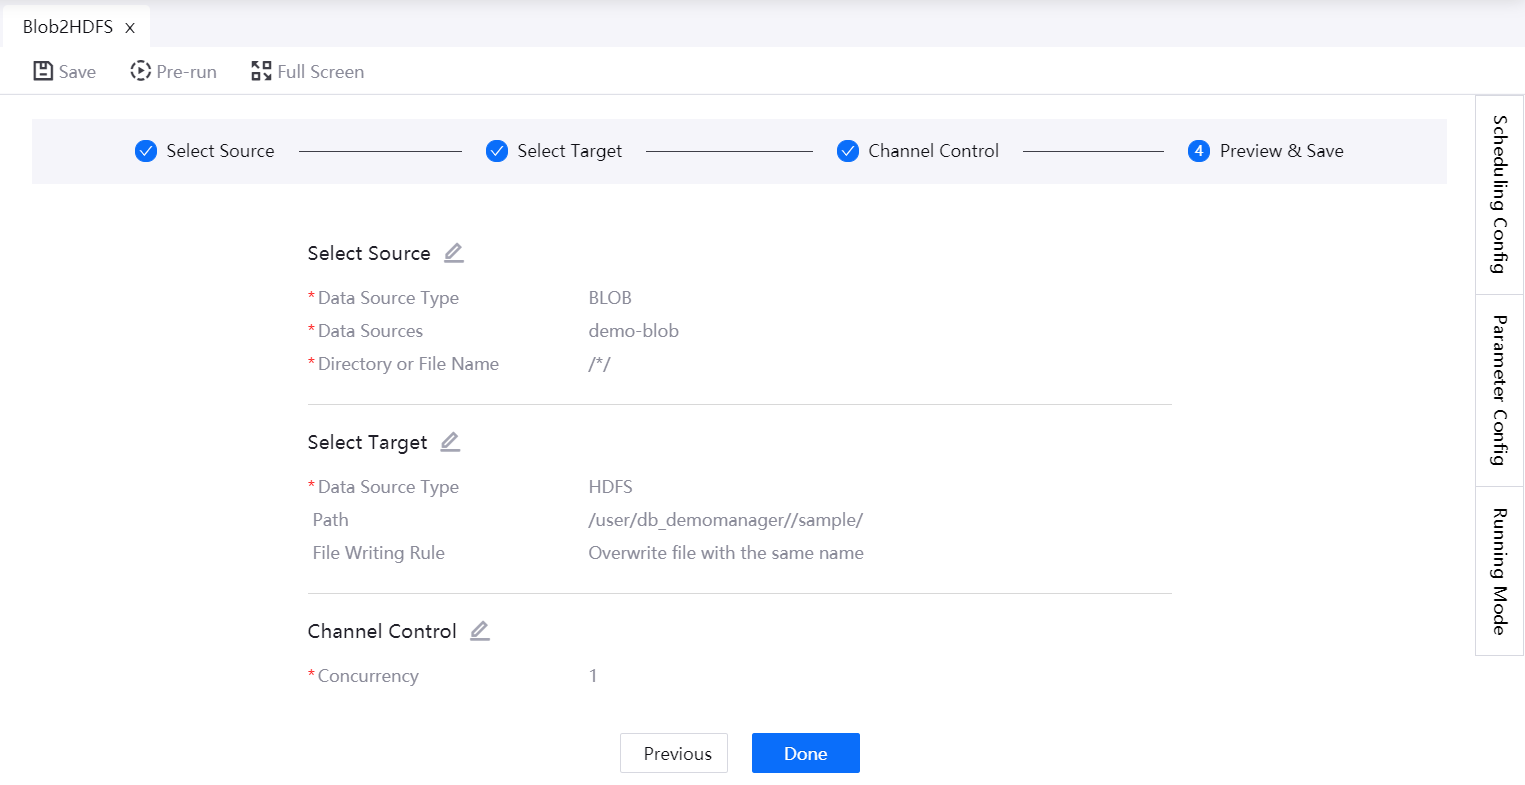
Step 5: Preview and Save the Configuration
You can preview the settings of the data synchronization task, and click the Previous button to make changes if needed. Click Done to save the configuration.
Next Step
Click Pre-run and select a triggering time to test running the data synchronization task.
After a task starts to run, an instance will be generated. You can then trace the details about the instance through Workflow Operation. For more information, see Workflow Operation.
After the files are synchronized from the source databases, you can schedule other processing tasks based on the data or files. For more information, see Batch Processing Overview.