Unit 5. Running and Publishing Pipeline
After completing the pipeline orchestration and configuration, you can run the pipeline to view the running results. After the pipeline runs successfully, you can publish it to production.
Running Pipelines
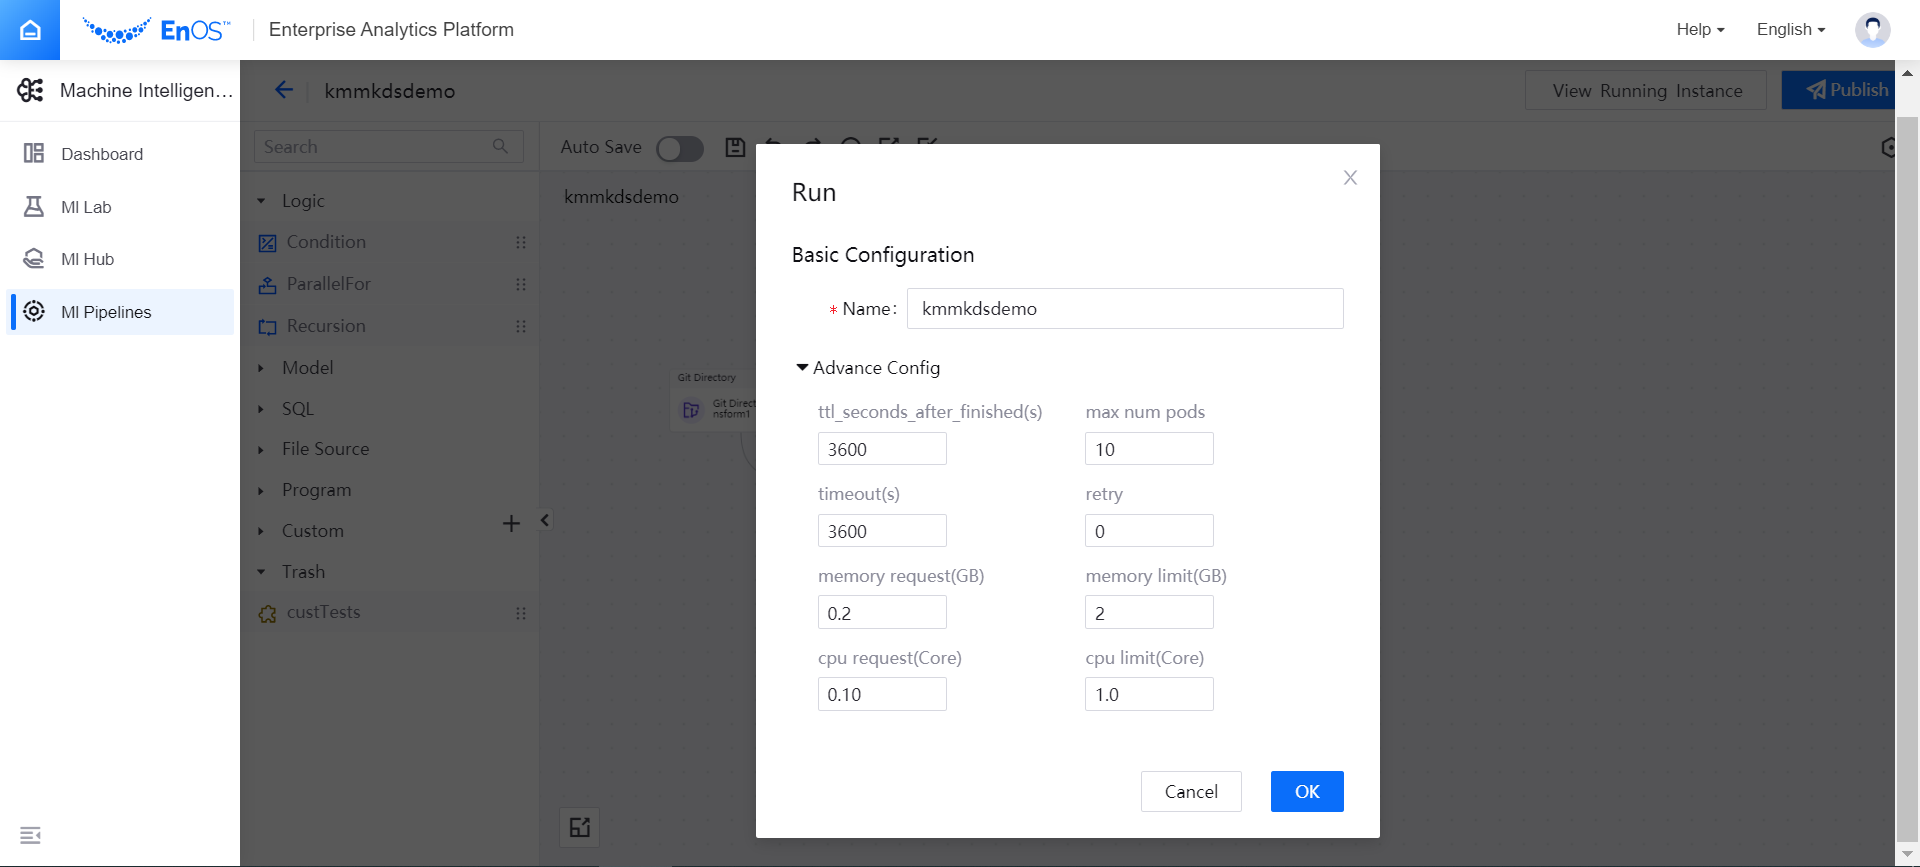
After saving the pipeline, click the Run icon in the functional operation area. In the pop-up window, click OK after completing the resource configuration for running the pipeline.
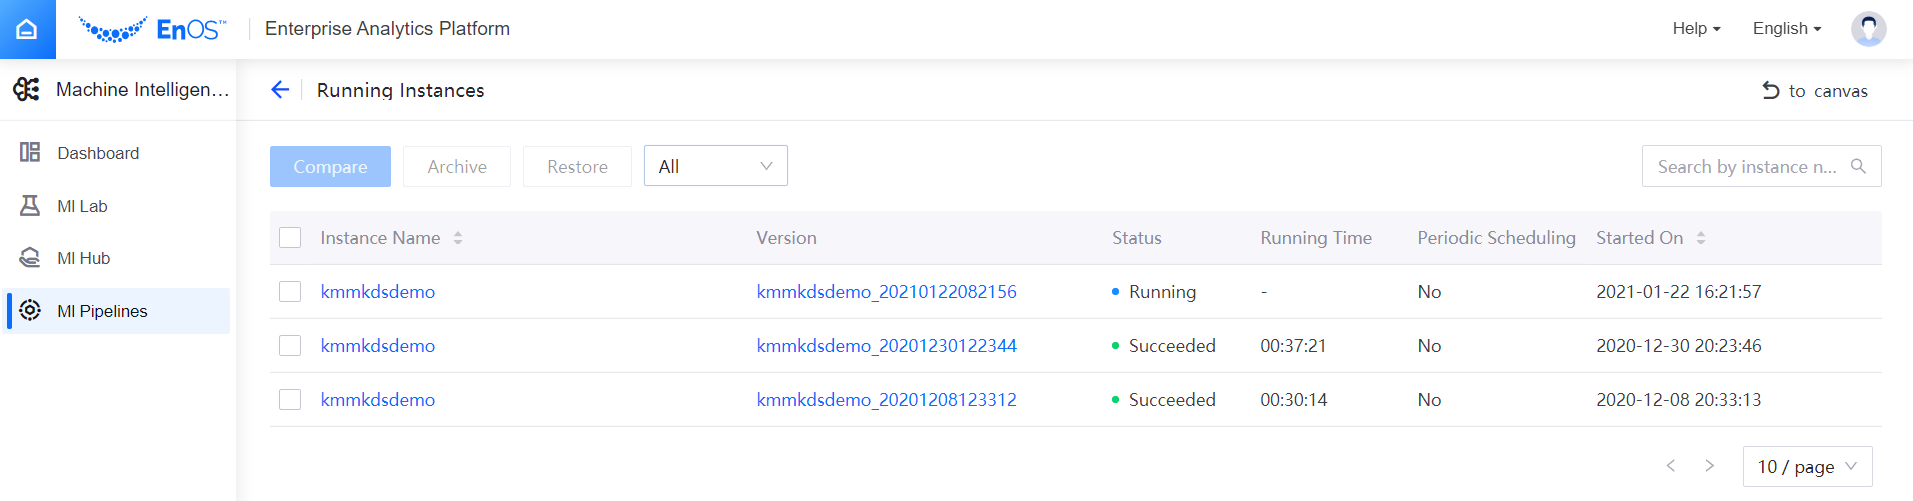
After the pipeline runs successfully, click the View Running Instance icon in the upper right corner of the page, and you can view the pipeline instance that has run successfully in the Running Instances list.
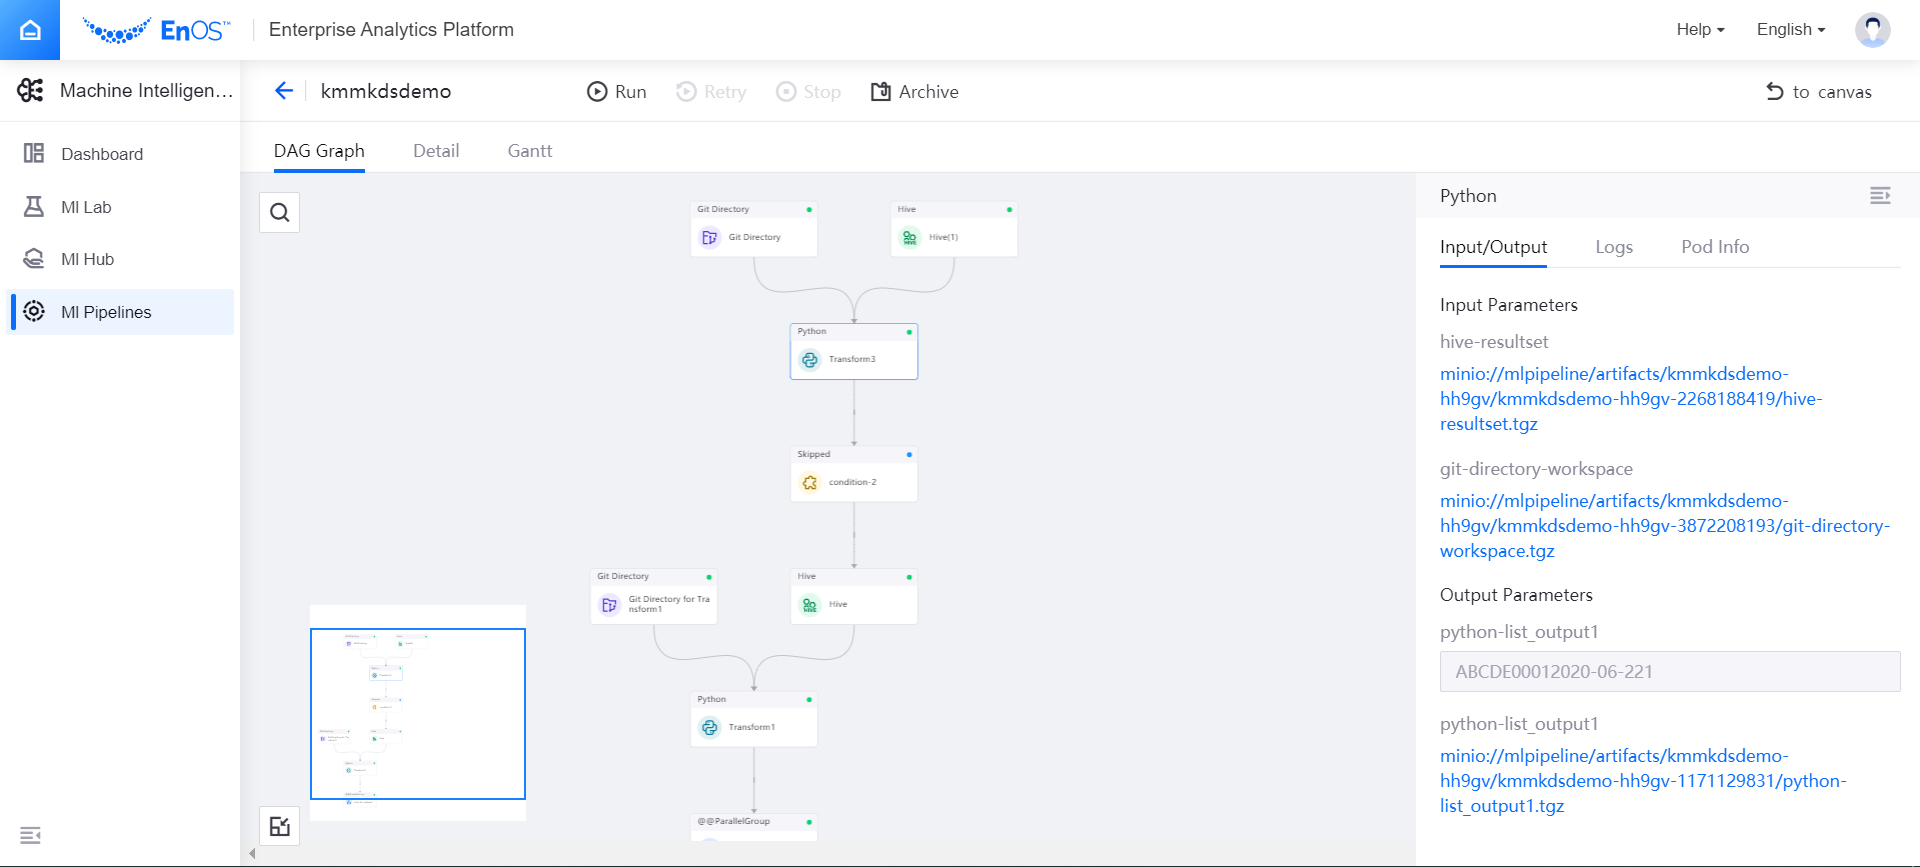
Click the run name to view the running results of the pipeline instance. Under the DAG Graph tab, select any operator and view the running results of each operator of the pipeline in the right pop-up window, including the input and output parameters, running logs, and Pod information of operators.
Publishing Pipelines to Production
After the pipeline runs successfully, you can publish it to production, and schedule it for automatic running.
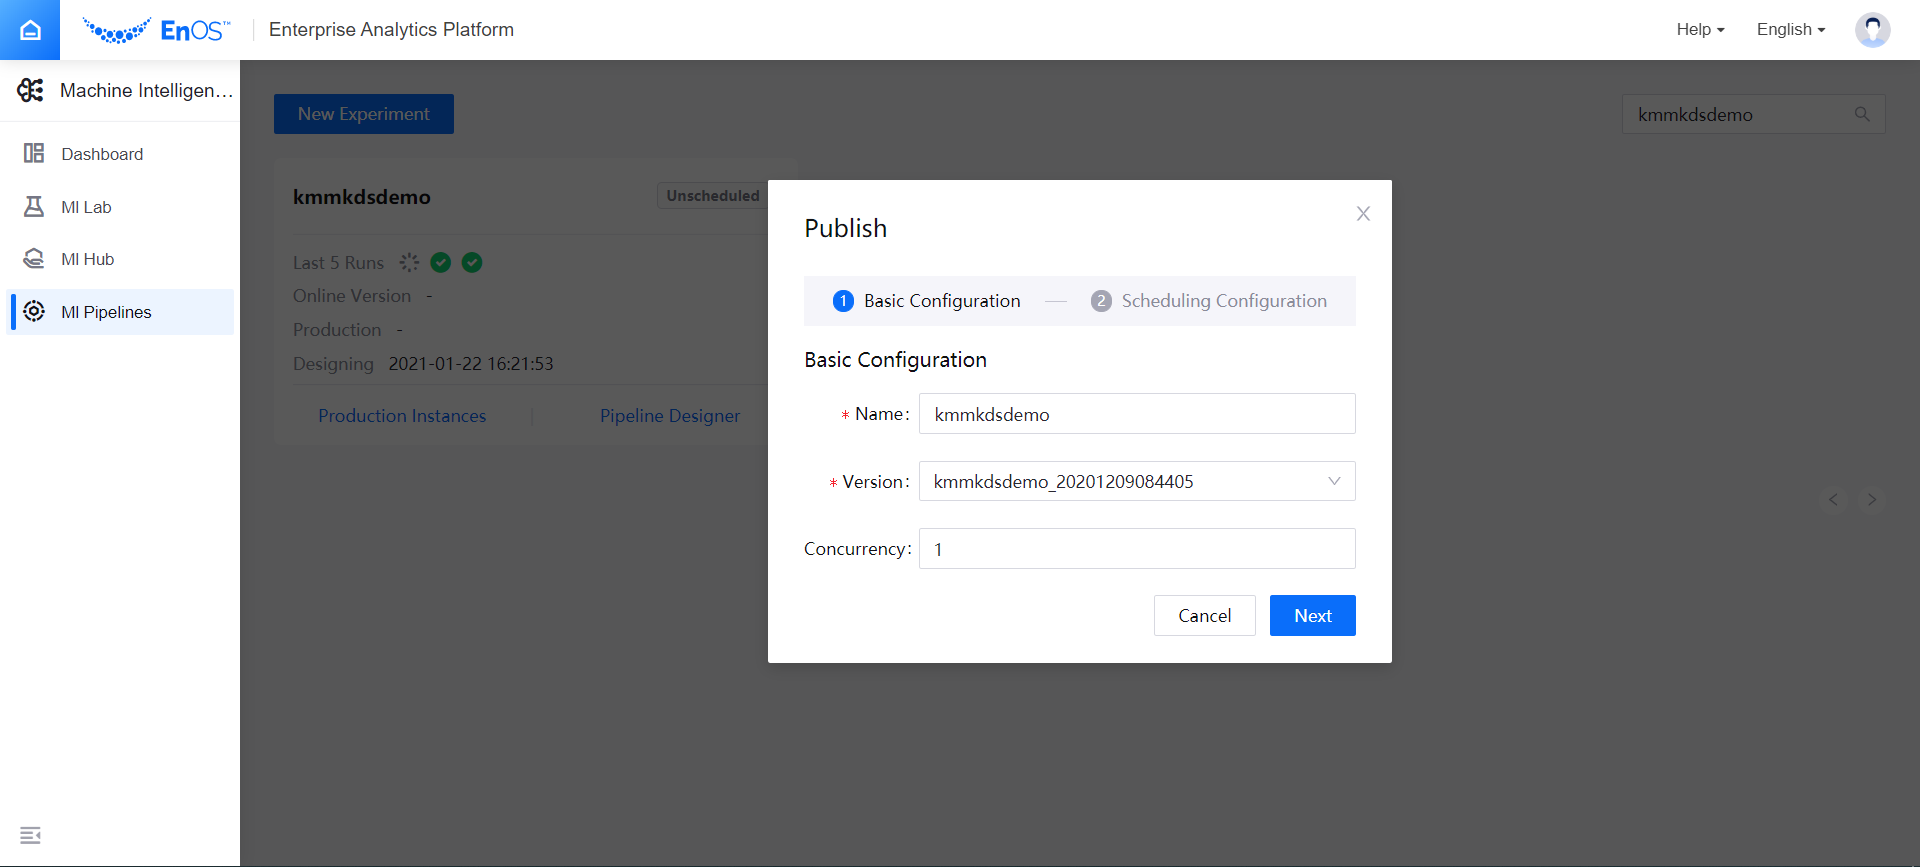
In the experiment list, select Publish from the … menu in the upper right corner of the experiment name card. Or in the offline design page, click the Publish button in the upper right corner of the page.
In the Publish pop-up window, click Next after completing the basic configuration.
Complete the production scheduling configuration:
- Trigger Type: select to schedule the pipeline at a fixed frequency period or at a specified time (configured by Cron expression)
- Set the start time and end time of the scheduled pipeline
- If the pipeline is scheduled at a fixed frequency period, set the running time interval
- If the pipeline is scheduled at a specified time, enter the cron expression
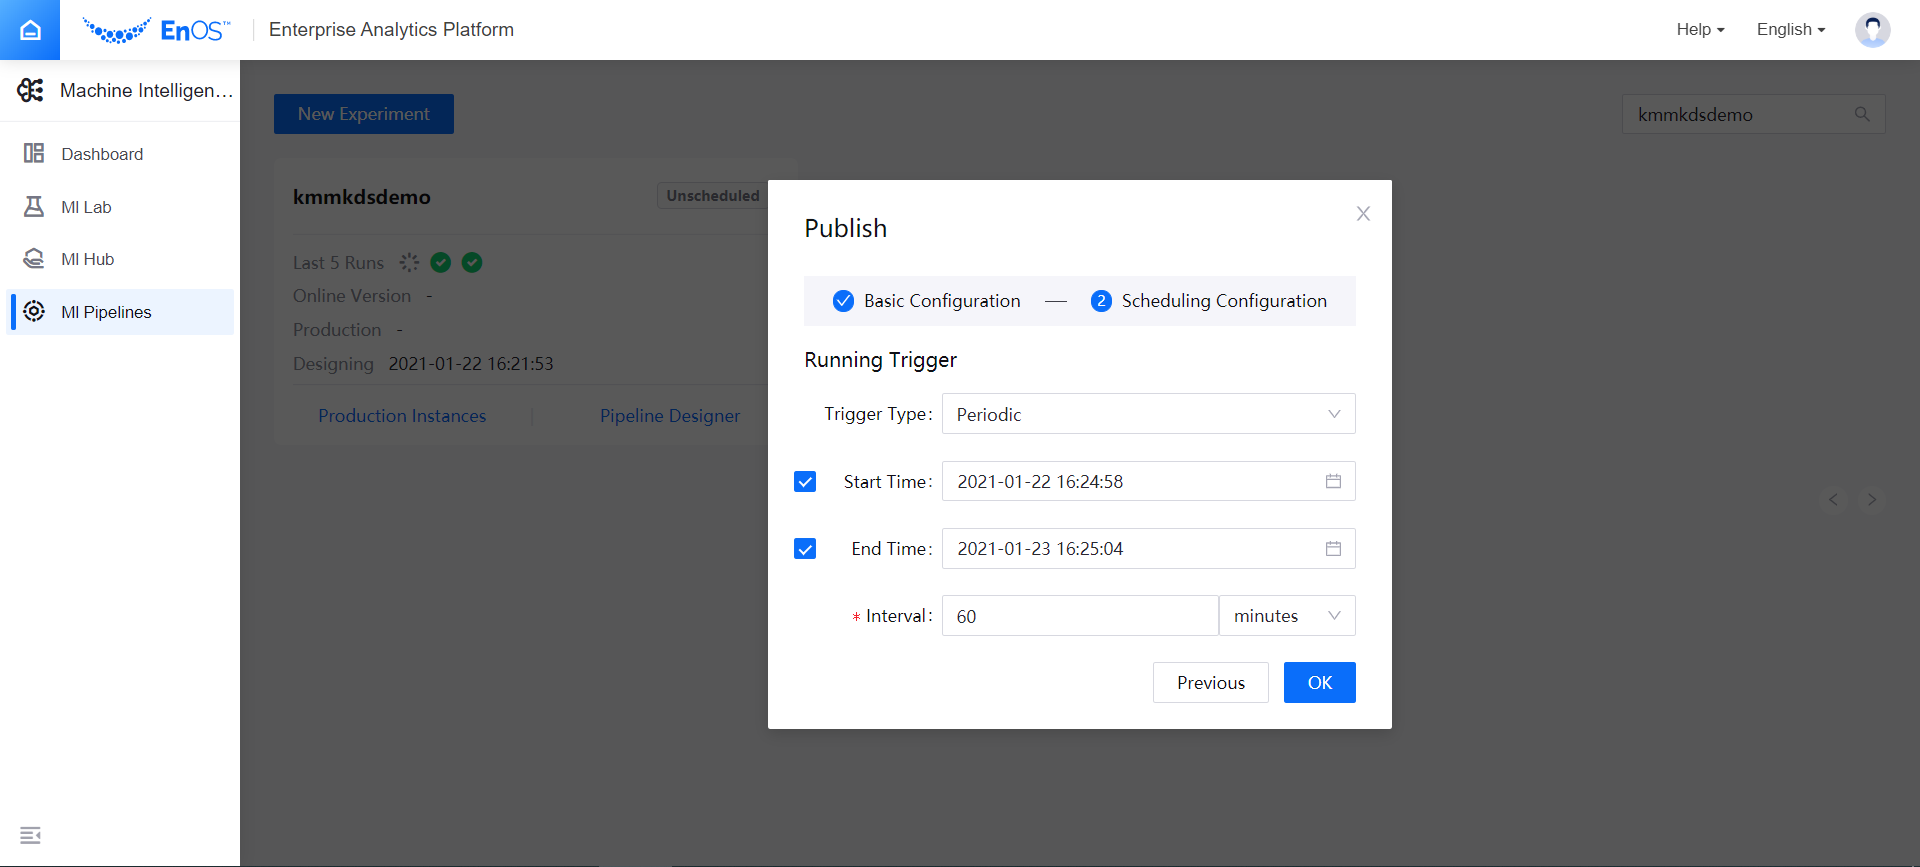
After completing the pipeline scheduling configuration, click OK to publish the pipeline to production, and the status of the experiment will change to Scheduled.
Select Check Scheduled from the … menu in the upper right corner of the experiment name card to view the scheduling details.